
Any doll that is styled with curled hair is going to come out of the box looking a little worse for wear. But never fear! Fixing it is easy and - dare I say - fun!
Before you start you will need to decide what kind of curls you want your girl to wear. Tight ringlets will require little straws while voluptuous curls will need big thick ones.
Maddie is modelling the smaller curls while Briar has gone for a more glamorous full bodied look.
Step 1
Boil wash your doll's hair and let dry. (For directions on this just scroll down to my Boil Washing Tutorial).
Step 2
Comb the hair, starting at the ends and working your way up to make sure there are no tangles.
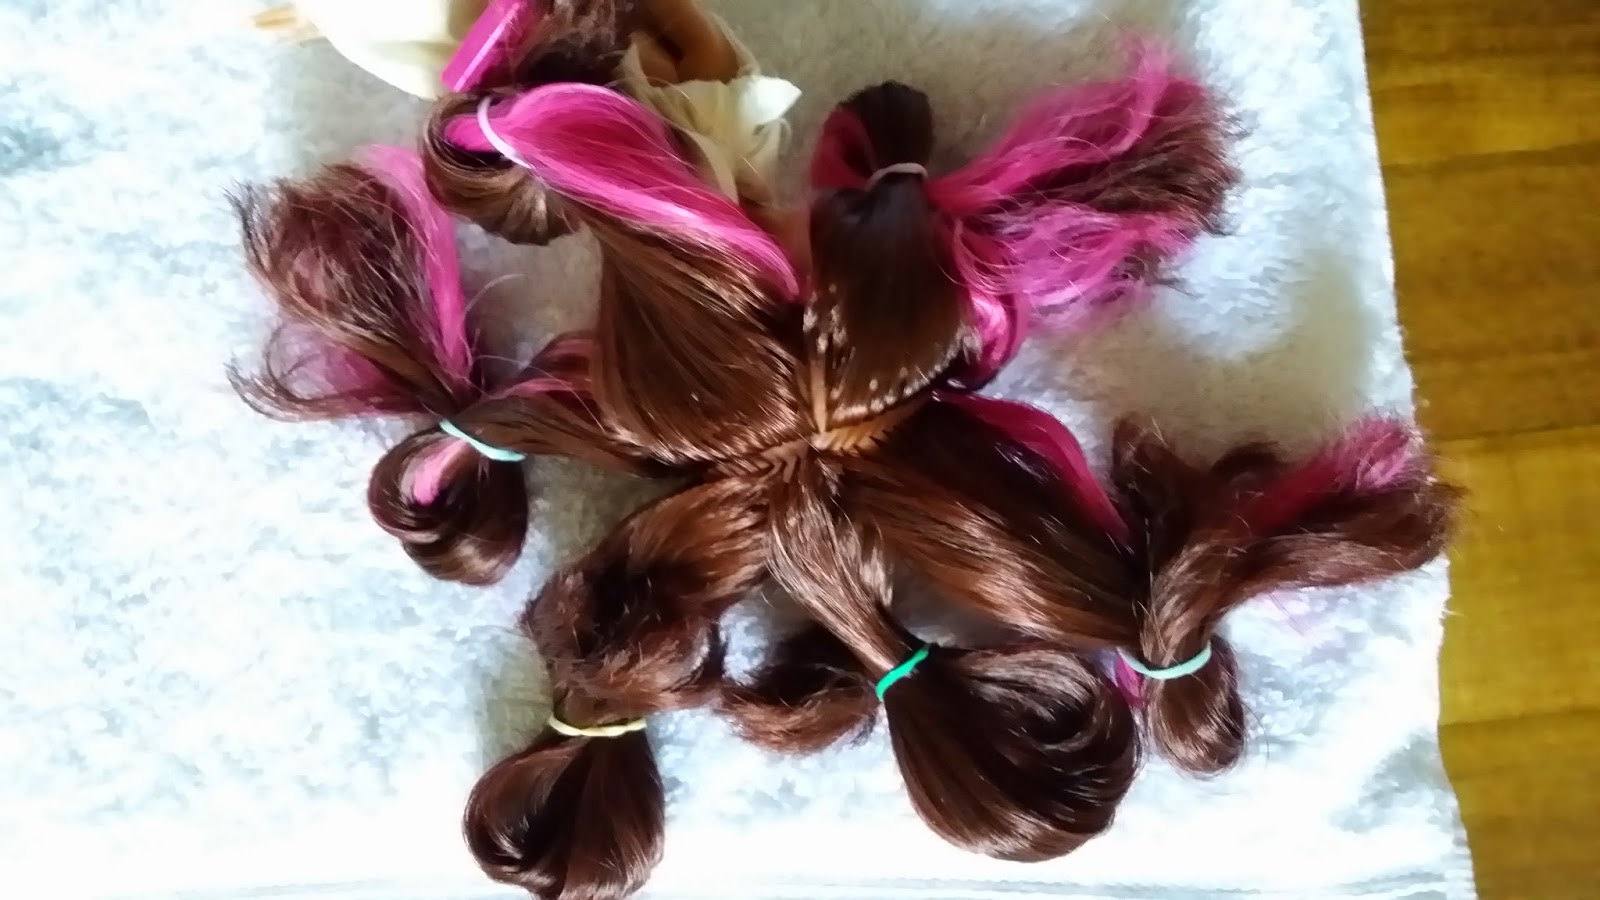
 Use a rat-tail comb to Separate the hair into about 6 sections. I generally do two on the top (one on each side of the part), two at the back and one on each side but this may differ depending on how much hair your doll has.
  It is probably best to use little clips to hold each section but here I have used elastics. If you use elastics be sure to just loop the hair through loosely so you can easily pull it out without pulling out a bunch of hair at the same time!
Step 3
Take one of the back sections of hair and clip the rest out of the way. Each section will take 3-4 curls. I generally start at the bottom and work my way up , it just keeps things neat and reduces the chances of the curls getting caught and messed up.
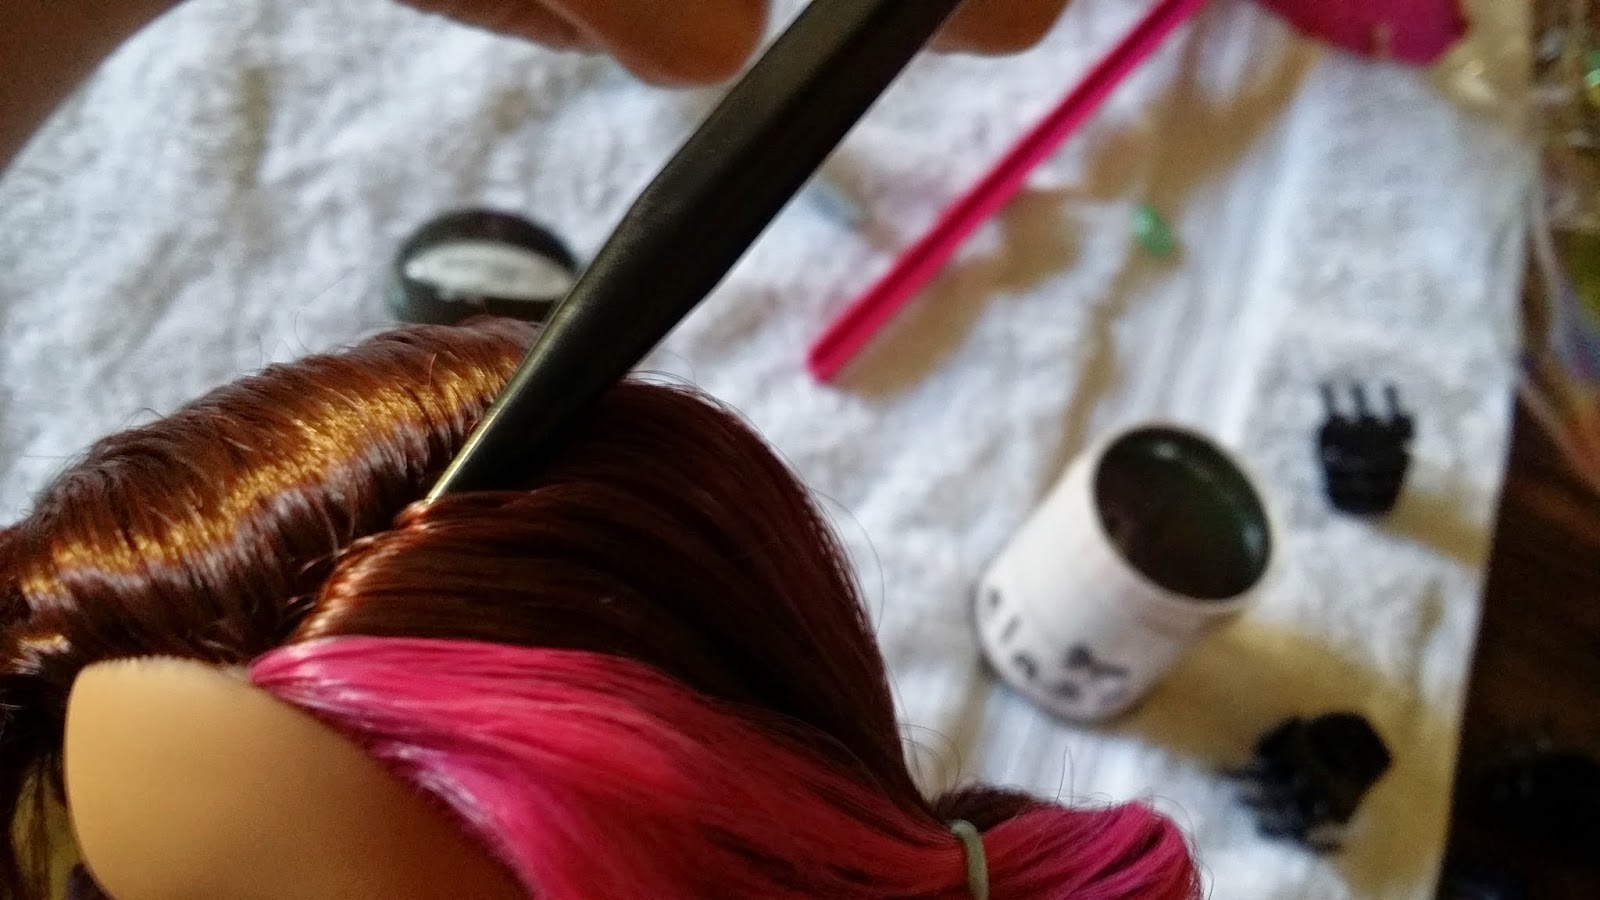
Take a small lock of hair and comb it through.
 Starting at the ends, curl the hair around the straw and roll it up towards the scalp. I don't want Maddie's curls to start at the root so the straws will stop 1-2cms from her head.
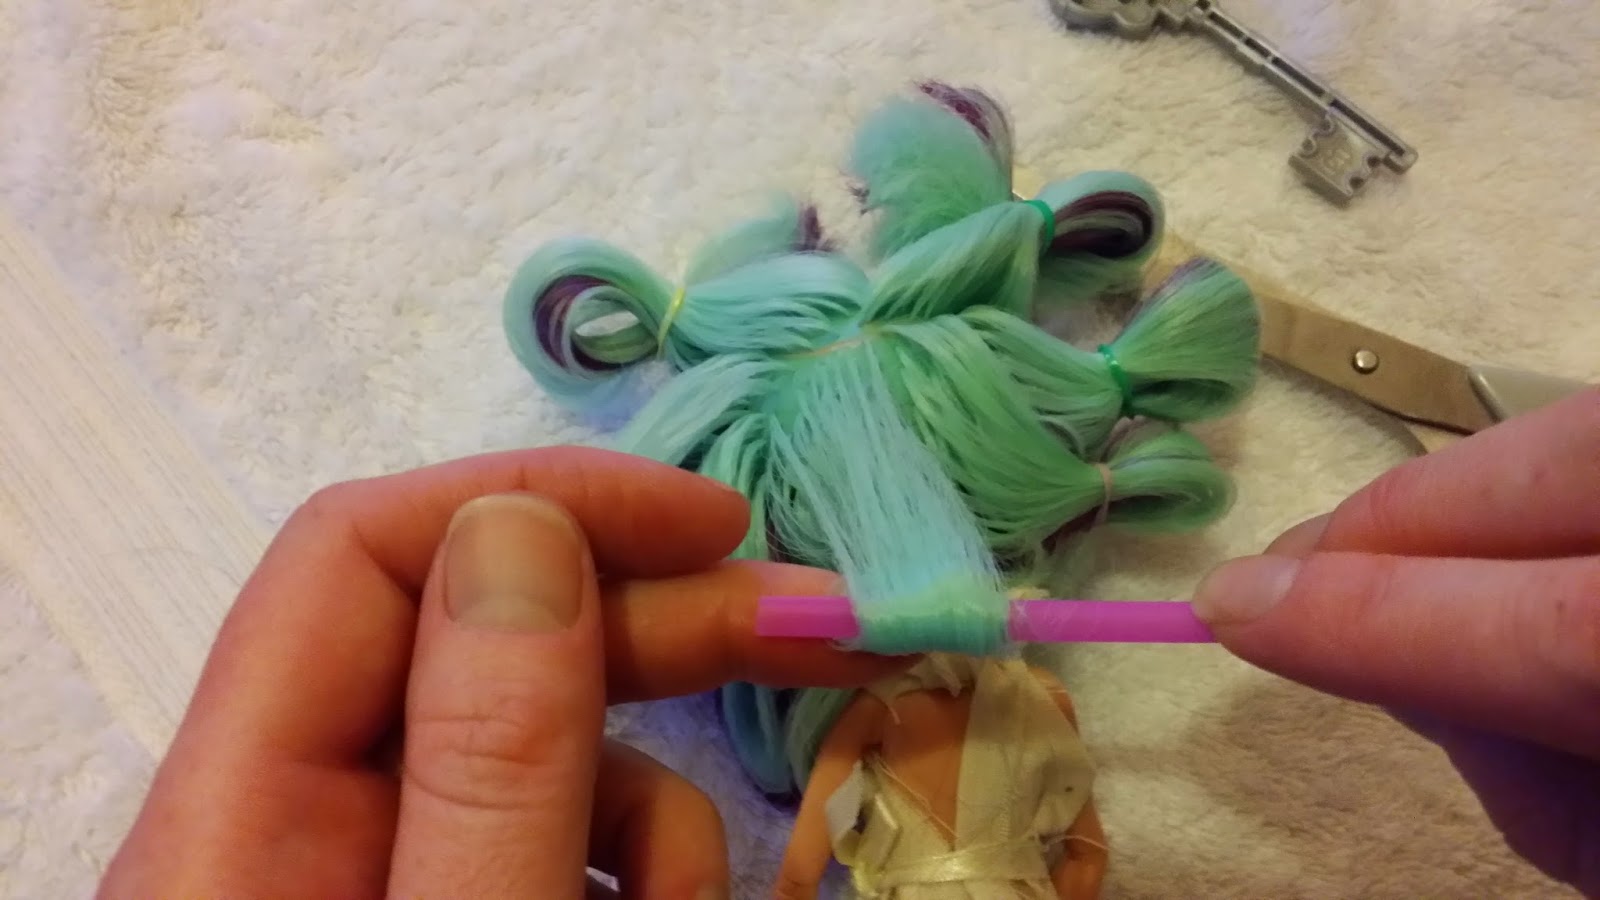
 If you want spiral curls do not overlap the hair as you wind it around the straw.
 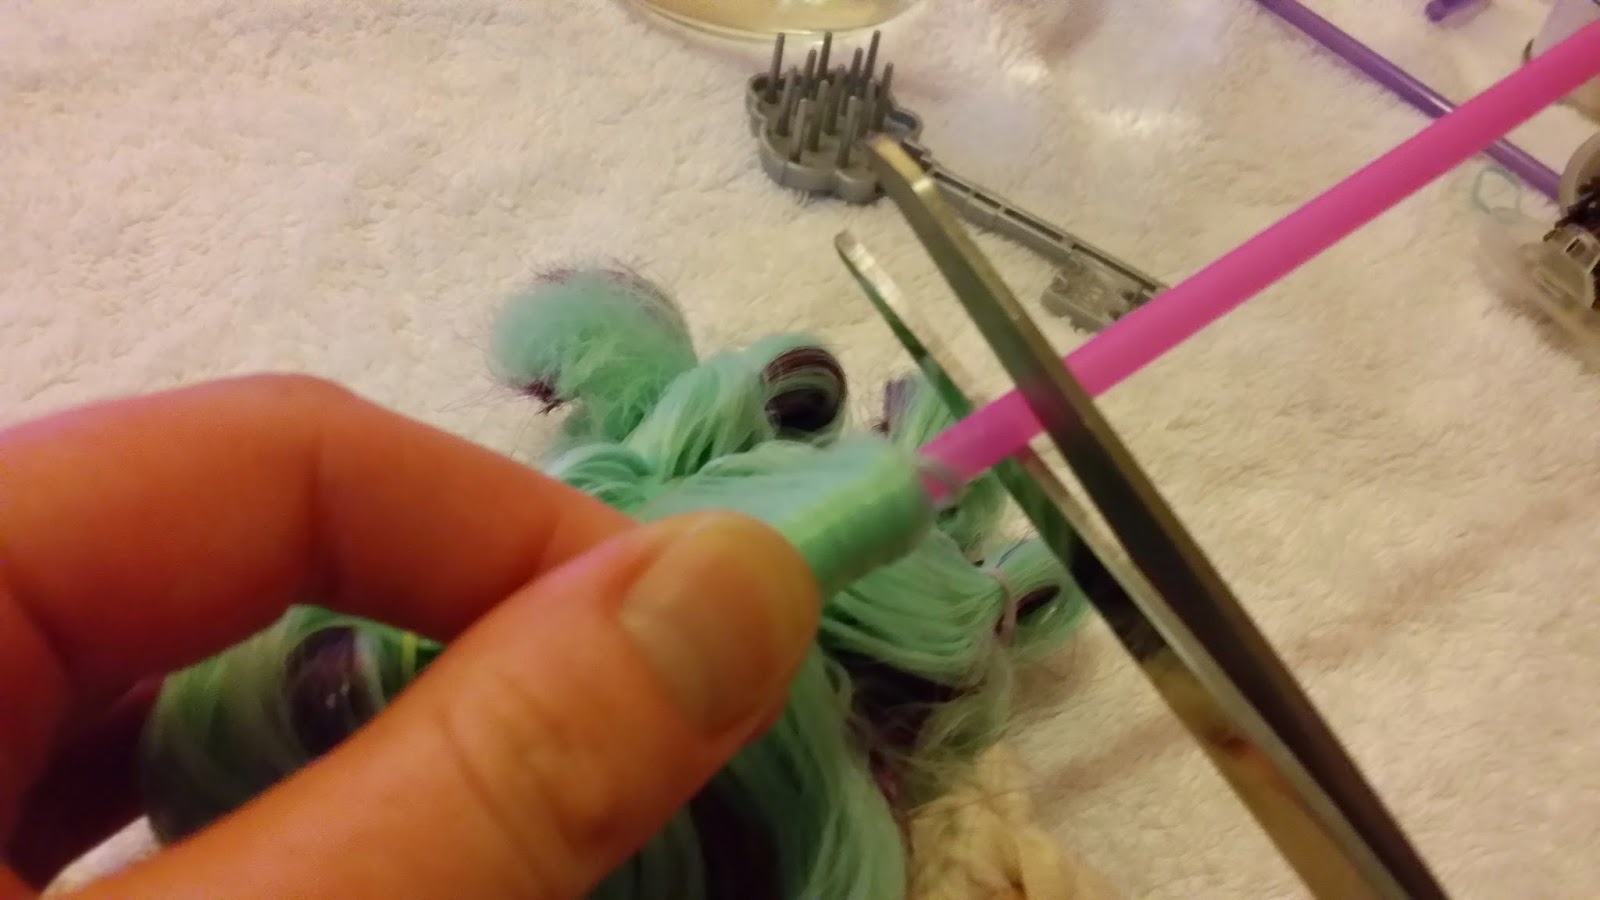 For Maddie, I wanted the curls tight at the ends and becoming looser as they go up so I overlapped the hair as it was wound around the straw.
Bobby pins are used to secure the hair in place on either side of the straw.

Never one for subtlety, Briar's going more for a full bodied style.
Her curls go all the way to the scalp and alternate direction.
Make sure the bobby pins are close to the scalp so the curls don't become loose.


Step 4
Fill a small jug or bowl about half way with boiling water.
Dip your doll's hair into the water and immerse for about 15 seconds.

Carefully take your doll out of the water and gently place her onto a towel to catch all the drips.
Be careful! It's easy to get distracted and burn your fingers (trust me!).


Place her on a stand (or prop her up somewhere) to dry. This can take anywhere from 5 to 12 hours. The thicker the curls the longer they will take to dry but generally overnight is plenty long enough.
Don't be impatient! It is important to make sure the curls are completely dry. If they are still damp when you take them out there's a good chance they will just fall out.
Step 5
Sleep! Take a break. You deserve it.

Take out the bobby pins and gently slide the straw out of the curl without unfurling the hair

Carefully brush the curl out paying special attention to the ends. I brush the curls over my finger to keep it smooth. If you have set the curls properly brushing won't ruin them.
Once brushed, wind the hair in the direction the curl it set.Step 7

Okay, you are almost done!
Use your fingers to separate out the curls and style the hair as desired. At that's it!


I added C.A. Cupid to the final line up to show how you can have a more wavy result while still using small straws. I put more hair onto each straw and didn't separate the curls as much.
I think the result looks great and complements the more dramatic, blunt-fringe cut.

No comments:
Post a Comment